| この記事を読むと・・・ |
|---|
SELinuxの無効化設定を誤ってselinuxtype=disabledと記載し、仮想マシンが起動できなくなった場合の解消方法が理解できる |
目次
/etc/selinux/configにselinuxtype=disabledを記載し、実際に試してみた
/etc/selinux/configにselinuxtype=disabledと定義すると仮想マシンが起動できなくなるので絶対にしないでください。
今回は検証のため、selinuxtype=disabledを定義しました。
# vi /etc/selinux/config

# This file controls the state of SELinux on the system.
# SELINUX= can take one of these three values:
#     enforcing - SELinux security policy is enforced.
#     permissive - SELinux prints warnings instead of enforcing.
#     disabled - No SELinux policy is loaded.
SELINUX=enforcing
# SELINUXTYPE= can take one of these three values:
#     targeted - Targeted processes are protected,
#     minimum - Modification of targeted policy. Only selected processes are protected.
#     mls - Multi Level Security protection.
SELINUXTYPE=disabled/etc/selinux/configの設定を反映するために、システムを再起動します。
※ちなみにログイン済みの端末は普通に操作できましたが、この時点で新規のログインができなくなりました…
# rebootOSが起動しなくなったので仮想マシンを強制的にシャットダウンさせました。
※仮想マシンのステータス的には起動状態となっていました。

SELinuxの設定を修正する
STEP
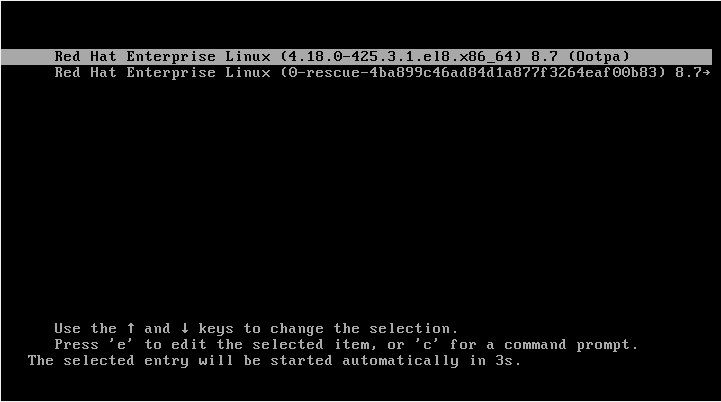
仮想マシンを起動する
仮想マシン起動直後の画面で『e』ボタンを押下し、Editモードを開きます。

STEP
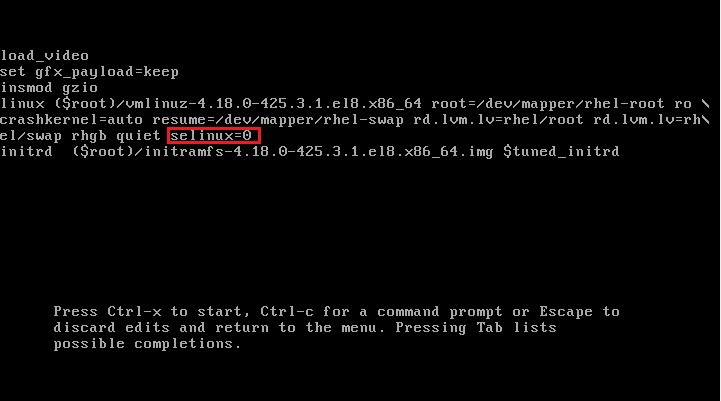
SELinux無効化の設定を追加する
linux~の行の末尾にselinux=0 を追記し、『Ctrl』+『x』で編集を完了し、OSを起動します。
※一時的にSELinuxを無効化しています。

STEP
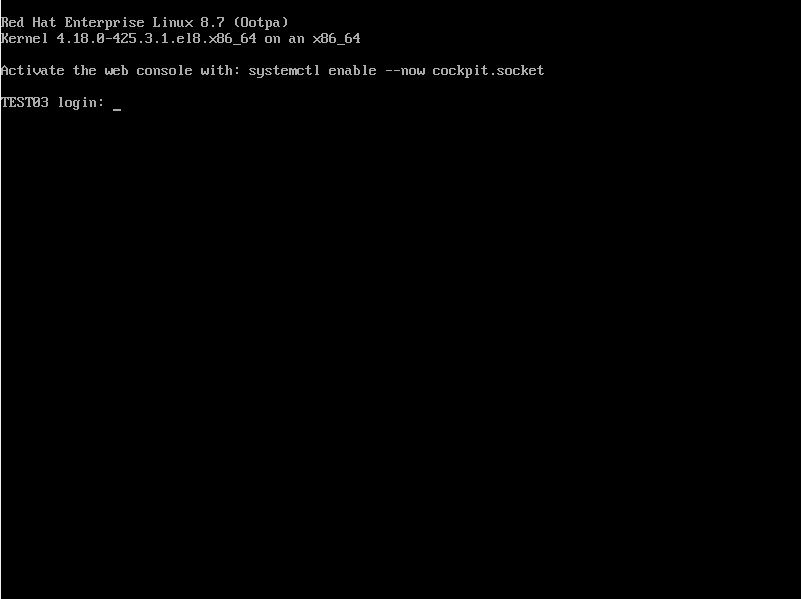
OSが起動することを確認する
無事OSが起動されました。

STEP
SELinuxの設定を修正する
本来設定したかったSELINUX=disabledを設定し、誤って記載したSELINUXTYPE=disabled をSELINUXTYPE=targeted に修正します。
# vi /etc/selinux/config

# This file controls the state of SELinux on the system.
# SELINUX= can take one of these three values:
#     enforcing - SELinux security policy is enforced.
#     permissive - SELinux prints warnings instead of enforcing.
#     disabled - No SELinux policy is loaded.
SELINUX=disabled
# SELINUXTYPE= can take one of these three values:
#     targeted - Targeted processes are protected,
#     minimum - Modification of targeted policy. Only selected processes are protected.
#     mls - Multi Level Security protection.
SELINUXTYPE=targeted
STEP
システムを再起動
/etc/selinux/configの設定を反映するために、システムを再起動します。
# rebootSTEP
SELinuxが無効化されていることを確認する
getenforceコマンドの結果がDisabledになっていれば設定修正は完了です。
# getenforce
Disabled


